A Step-by-Step Guide to Designing and Creating Your Product Label
Designing and Creating Your Product Label
*Plus: Checklist, Methods, & Pro Tips!
The term “product label” refers to information, in text or graphics, or both, printed either on your product’s external packaging, on a piece of printed adhesive paper or plastic attached to your product, or printing done on the product container itself.
Your label’s main purpose is to provide customers with visual information about and related to your product.

Product labels should provide relevant information about what you are offering as well as serve as an effective medium to capture the attention of shoppers.
Details such as who manufactured the product, when it was manufactured, the expiration or best used by date, its ingredients, how to use the product, and the product’s proper handling and storage instructions are basic information that must appear on your product label or packaging.
FACT: Additionally, creating and designing labels that focus on emphasizing a product’s effectiveness and durability increases the chances of customer conversions as high as 56%.
Getting started on your own product packaging and designing product labels can be difficult, especially if you are in the initial stages.
This step-by-step guide on how to create and design product labels (and creating custom product packaging) is meant to aid you in developing your own unique presentation that will align with your own business’ creative concept.
Step 1 – Preparation, Planning, and Researching
Preparation
To achieve your goal or a certain vision for your custom printed packaging or custom labels you must plan on how to make it happen accordingly.
That is why the first important step that you must do when creating your product label is to make an outline of all the important factors to consider. In this step, you must decide and finalize basic information such as:
- Your Package Label Dimension – The shape and size of your custom labels will largely depend on your product’s container or your packaging size. List down preferences when if comes to artwork and text. You don’t want something that’s too big that it overlaps the end of your packaging, or too small that when you scale your label artwork you sacrifice text readability.
- Your Type of Packaging (Format) – If you don’t have this already, it is good to keep in mind that your packaging presentation is a visual cue that both identifies your type of product, as well as a tool that can considerably set you apart from what the norm is in your market. Product packaging is not limited to boxes and bottles; there is a wide range of packaging styles and formats to suit different purposes.
- Your Brand Story – The story of your brand reinforces your brand’s identity and engages with customers over time. Consumers want to relate to brands on a more personal and emotional level. Sharing the reason for making the product rather than simply focusing on the product’s features will certainly resonate more with target consumers. So having that connection starts with a story about your business, its practices and processes, and what you stand for and offer compared to your competitors.
Step 1 – Preparation, Planning, and Researching
Planning
Now that you have your foundation set, it is necessary to align this with your target market if you haven’t already.
In this step, your goal is to solidify details about your ideal customers and benchmark your potential competitors.
Knowing your customers is key
Creating and designing custom labels and custom packaging should both capture attention, and then follows through with details that speak to prospective customers effectively. For example, using words and vernacular that your target audience/customers use creates a better line of communication and an increased affinity with your brand.
Research competition / benchmarking
This will give you insights that will help you differentiate yourself to secure a unique brand and product image. It is never a good idea to copy what is already out there if you are to succeed in properly branding your products. You can also consolidate existing customer reviews about competitors regarding how the current packaging formats of your type of product function and innovate from this point.

Here are a few things and questions that you should think about and answer to help you solidify your packaging concept and design:
List down the answers and use the material in planning how your packaging should look like, as well as what text, graphics, and images should be on your custom label design. Consider the following to help flesh out your packaging concept and custom label design.
-
- Define your product from the your target customer’s point of view.
- What does your product do for your ideal customer?
- What problems does your product solve for your customer?
- What needs of your customer does your product satisfy?
- How does your product improve your customer’s life or work?
- Define your product from the your target customer’s point of view.
-
- Determine the benefits that your ideal customer is seeking in your product.
- Which are the most important to your ideal customer?
- What are the most pressing needs that your product satisfies?
- Why should your customer buy from you rather than from someone else?
- Determine the benefits that your ideal customer is seeking in your product.
-
- Determine the location of your exact customer.
- Where is your customer located geographically?
- Where does your customer live or work?
- Where is your customer when he or she buys your product or service? Are you going to push your customer to buy in a local store or online?
- Are there certain local slang words that your customer uses when referring to your type of product?
- Determine the location of your exact customer.
-
- Determine exactly when your ideal customer buys your product.
- What has to happen in the life or work of your customer for him to buy your product?
- What time of year, season, month or week does your customer buy?
- What is your customer attracted to, if your customer buys your product during seasonal events?
- Determine exactly when your ideal customer buys your product.
- Determine your customer’s buying strategy.
- How does your customer buy your product or service?
- How has your customer bought similar products in the past?
- How does your customer go about making a buying decision for your type of product?
The more specific you are with regard to your how your ideal customer thinks and feels, the more effective your product packaging and custom label design will be in terms of actual performance for both branding and marketing.
Step 1 – Preparation, Planning, and Researching
Researching
Checking the local store, market, or simply using the web to conduct data analysis of your competitors will also be beneficial to you in the early stages of creating your packaging and custom label design.
Again, you don’t want to be similar to any of the brands that are already out there and already have established their own brand image and product packaging style. Conducting research allows you to obtain valuable information regarding product perception and value. You can then use the data obtained in designing and creating a truly remarkable product label.
Step 2 – Evaluating and Incorporating Your Brand Story
Your custom label’s content is a powerful type of marketing and advertising that should include the strongest points about your business and products.
Practicing consistent brand storytelling across all your marketing and advertising materials (i.e. website, social media, printed collaterals) can mean the difference between a customer who sees your product but does not remember it and a customer who is compelled to read your product’s custom label and is persuaded to purchase.

In this step, you should appreciate that brand storytelling is not just about adding a catchy tagline.
A brand story tells of the history, values, personality, and image of your brand. Incorporating this successfully into your design, whether textual or graphic, creates a lasting emotional bond with your prospective customer. The resulting engagement from this touchpoint, if nurtured properly, will certainly lead to increased customer loyalty.
Every product’s brand story is the foundation of every product on the market and a crucial aspect in the strategy for the growth of every business. It is the foundation that differentiates your brand and empowers your products to make emotional connections with customers.
A relevant and authentic brand story will make your product stand out proudly on the shelf, even without any marketing tactics, because it resonates with your customer.
Crafting your brand story as concise and interesting on your product packaging promotes and solidifies your efforts for brand awareness, generating top-of-mind share, and power profits.
TIP: When creating your brand story, know that this isn’t limited to what you already have.
Depending on the real estate on your packaging and product labels, it might be productive to hire a copywriter and a graphic designer to help you retell your brand story in a more creative and engaging way that is concise enough to place on your packaging.
Never copy your existing company history, brand pillars, and the like to use on your packaging. While it may take a lot of time and effort, it is an extremely lucrative move to revisit, craft, and finalize your current version of your brand story. Make sure to ask for feedback to ensure it is emotive and tailor fit to how your target market speaks and thinks, and doesn’t read like a company profile.
Step 3 – Setting The Right Packaging and Custom Label Specifications
By this step, you should already have decided on what type of external packaging should hold your product.
This outer packaging design should coincide with your product label design so that both work to present and showcase your products effectively. Both must have enough product information that your customer is able to know and understand your product and bring brand recall for top-of-mind share.
Whether your product presentation requires any external packaging or not, your custom labels must be the focus of your efforts.
Before accomplishing any sketch or label design mockup, the most important step that you must do is to first choose the most appropriate material, finish, adhesive, size, and shape of your label.
Label Material
Make sure to pick the material that will work best with your product in terms of utility and not merely aesthetics.
Here are some examples to show how label material should match your unique requirements:
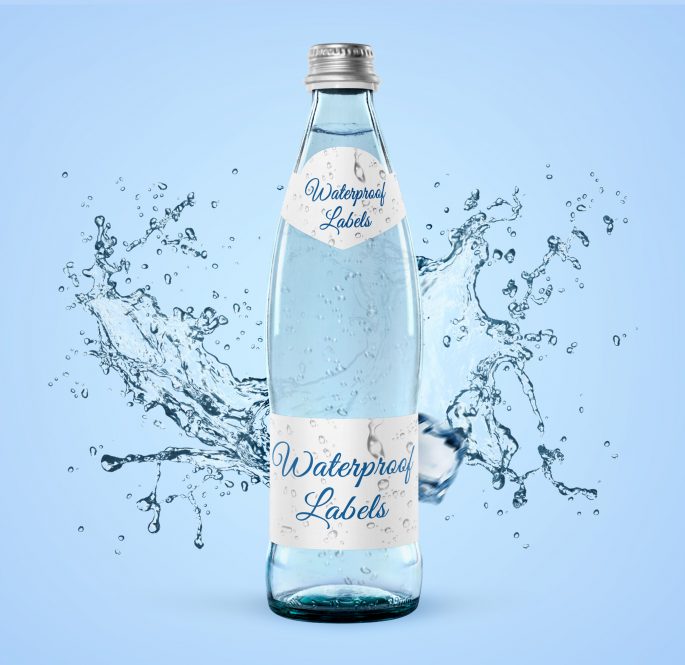
- If you are packaging bath and body products, then your label of course must be waterproof. Paper label material with the addition of a laminate (a protective coating) can also work; however using plastic film label material, which is non-porous, flexible, waterproof, and oil-resistant, will still be best for your application.
- If your products are condiments that are in squeeze bottles, your label material should be flexible, withstand repeated compression and decompression, and should not disintegrate due to wear and tear before the end of your product’s life span.
The material used when creating your product label also largely depends on your personal preference but keep in mind that different materials will require a different design approach.

Here are some examples of types of label materials and how they are commonly used based on their functional and aesthetic properties:
-
- Clear labels – Ideal for transparent plastic or glass bottles, jars, and tubs to let the contents “shine through”. When preparing design or artwork for clear labels, a white ink wash (white ink underprinting) over printed art elements must be setup to ensure that they develop as opaque (otherwise they look like watermarks) and color consistency is guaranteed. Adding a gloss laminate improves the clarity and vibrancy of printed clear labels, while adding a matte laminate dulls it down and makes the finish look “frosted”.
-
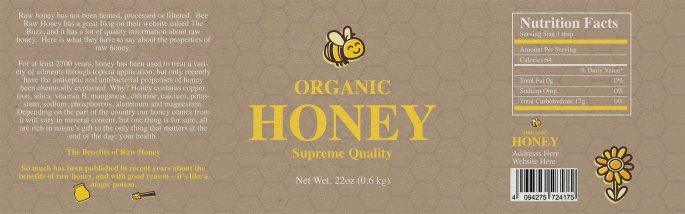
- Kraft labels (brown) – This type of material provides an organic and earthy look and feel to the product label and is commonly used on products that present themselves as eco-friendly. Not all brown Kraft label material are the same—it is best to check for samples to ensure that you get the right shade of brown if you are color-matching this to kraft boxes.
-
- Foil labels – Known for the tinsel effect this gives, whether gloss metallic or satin, foil labels are ideal for beer bottles, liquor bottles, cosmetics packaging, and other products that need to be waterproof while standing out as premium, stylish, or luxurious. Adding a gloss laminate not only develops more vibrant prints; this also gives some thickness to the label, which may lead to label flagging (curling up on corners) on smaller diameter cosmetics tubes as in lip gloss. A matte laminate on foil label material dulls it down and gives a satin finish.
Label Finish
The “finish” of your custom product label simply refers to the final look and feel of the surface of your labels.
A finish can be due to inherent label material properties—as in a natural, uncoated kraft paper label has a matte finish and doesn’t feel slick to the touch. A finish, more often than not, can also be due to a coating applied on top of your custom labels, to protect your labels and change how labels reflect light.
Laminates and varnishes are coatings that are used to change the finish on your labels. These coatings can make colors more vibrant, add interesting effects, or dull down naturally glossy label material to match packaging and give the label surface some texture to allow writing.
Laminates are generally available as gloss or matte. Laminating or varnishing certain art elements of your custom label for your packaging can affect the overall impact and the appeal of your product.
-
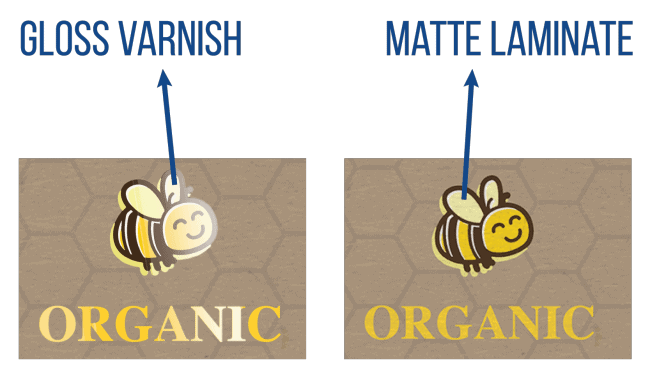
- Gloss Finish – Popular in a variety of markets, a truly glossy finish can be achieved by adding gloss laminate or gloss UV coating. This also gives more protection from a label’s inks being rubbed off or smearing.
- Matte Finish – Matte finish develops subtler colors on your labels with a flat, soft look and feel. Just like gloss, matte finish can be achieved by either using a material that is naturally matte (as in uncoated paper label material) or by adding matte laminate.
Label Size and Shape
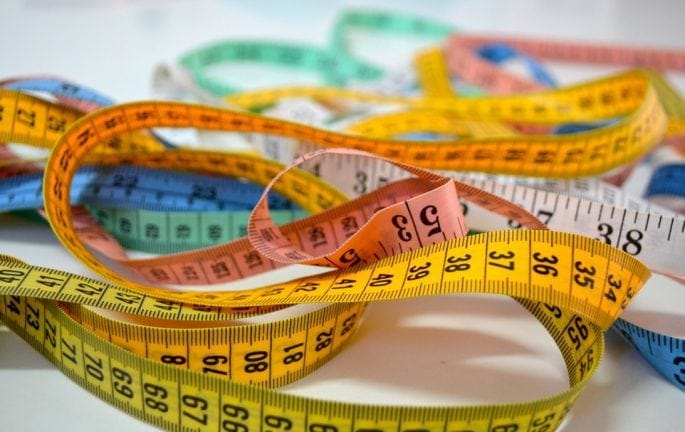
It is extremely important to take stock of the working real estate on your packaging and containers. The size of your custom labels will hinge on the available labeling areas on your container.
Before doing a rough sketch of your packaging and label design, make sure to get the right working dimensions of your label artwork by measuring your containers properly and correctly.
The shape of your custom packaging and custom labels need to be based on its efficiency in terms of creating the visual presentation that you are after. Many brands use shape to influence customers’ perception with visual cues linked to brand benefits, such as fruit juice brands (marketing better health and fitness) designing slimmer cans and labels.
Step 4 – Designing Your Product Label
Before proceeding to this step, make sure that you have all the necessary information that needs to be on your packaging and product label. So before anything else, make sure that you have prepared the following:
- Your brand story
- All necessary information
- Data/insights from your research
- Your product label specifications
-
- Size
- Shape
-
- Chosen material to use for your product packaging and product label
Make sure that the first three (3) steps have been accomplished first before continuing any attempts in designing your product label or product packaging.
When it comes to designing your product label, to make it easier, start with the placement of your product name, business name, or brand name. This should be easily identifiable and the first visual information that captures the eye of your customer.
Add the other necessary information and edit based on reading hierarchy, for font style, size, and color, borders, and so on. If your products contain more than two ingredients and are edible, include a Nutrition Facts table, in the correct format as specified by FDA.
You must also make room for your products’ UPC barcode on your product label design. If you do not have a UPC barcode, you must obtain yours through the Uniform Code Council (UCC).
When designing your product label consider these:
- Fonts – According to this study published by iiste.org, the fonts of your product label design affect the buying behavior of consumers. This is why the choice of fonts deserve careful consideration and thorough planning.Especially if using this on product names, you shouldn’t settle for the typical fonts such as Arial, Calibri, and the like when designing your product labels. Pick a font that will help your product to stand out, or that captures the personality of your product or your brand. You can purchase fonts online, or have a graphic designer create a trademark font to be used for your brand alone.
- Color – The colors that will be used on your product label can directly influence consumers’ purchasing decisions. Several factors should be considered when choosing the color palette for your product labels:
- The color of your product’s container or external packaging;
- The color palette already being used by competition;
- The color of the actual product itself, if this is packaged in transparent containers
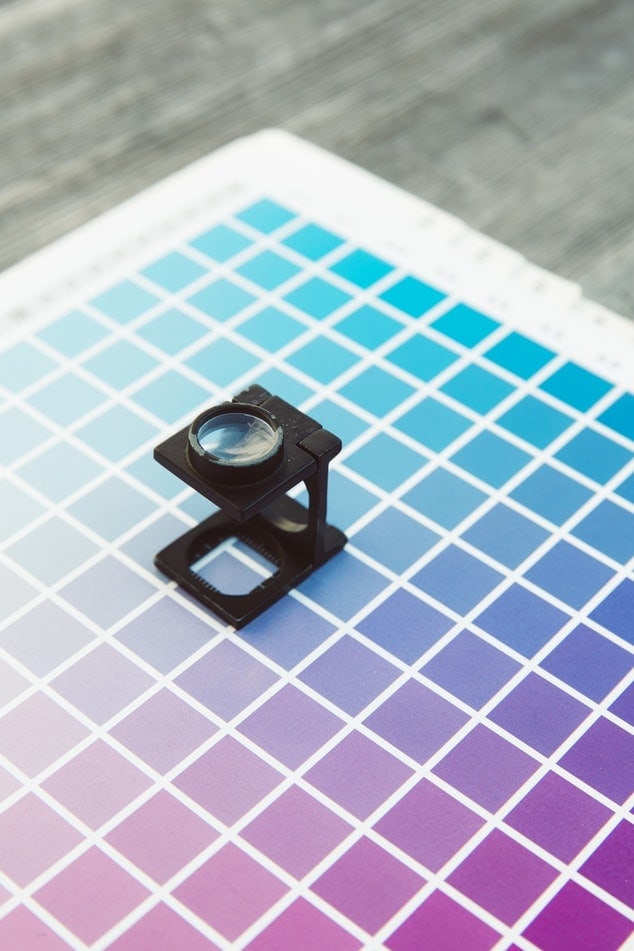
Consider this: According to WebPageFX, about 85% of consumers say that the color of a product is one of the primary reasons why they purchase a particular product, while 93% look at visual appearance when they buy a product. When designing your product label and packaging, remember that you want your product and brand to stand out on the shelves next to your competitors.
TIPS:
- Inject more personality into your brand, especially if your brand story is inspired by a person, an animal, an advocacy, a concept, or a place. Labels are a means of identification, but more so a vehicle to make your products remarkable. Sometimes the addition of an official representative, such as an illustrated dog if you are selling dog pet care products, for example, can work to highlight the significance of dogs while making your brand more personable.
- Using professional graphics such as illustrations or photographs can go a long way in terms of quick communication and capturing the attention of the market of your product.
Step 5 – Final Proofing and Printing Quotes
For this final step, you should now have exact specifications and a concrete packaging and product label design plan (and artwork) in mind and on hand. This is the part where you need to provide the final spec and requirements for your custom product label design.
Set specifications are best so that when you consult with your printer you can be assured that the performance of your labels (based on your current requirements) will be successful. Talk to your printer about things like:
- If your chosen product label materials can withstand freezing temperatures
- If there could be any adhesion issues based on container material and shape
- If special artwork setup needs to be done if using clear, holographic, or any specialty stock
- And more notes, depending on your unique requirements
Time to get started!
Designing your own packaging and custom labels can be difficult if you’re a small business or startup. However, with your vision, dedication, hard work, and creativity, this isn’t next to impossible.
Time and effort invested in making your product labels fit perfectly for your product is priceless especially in establishing your business, brand and product.
We hope you found our guide useful, and let us know if you have any questions or need any assistance—we’re always happy to help!